
Cobblestone Farm
BLOG
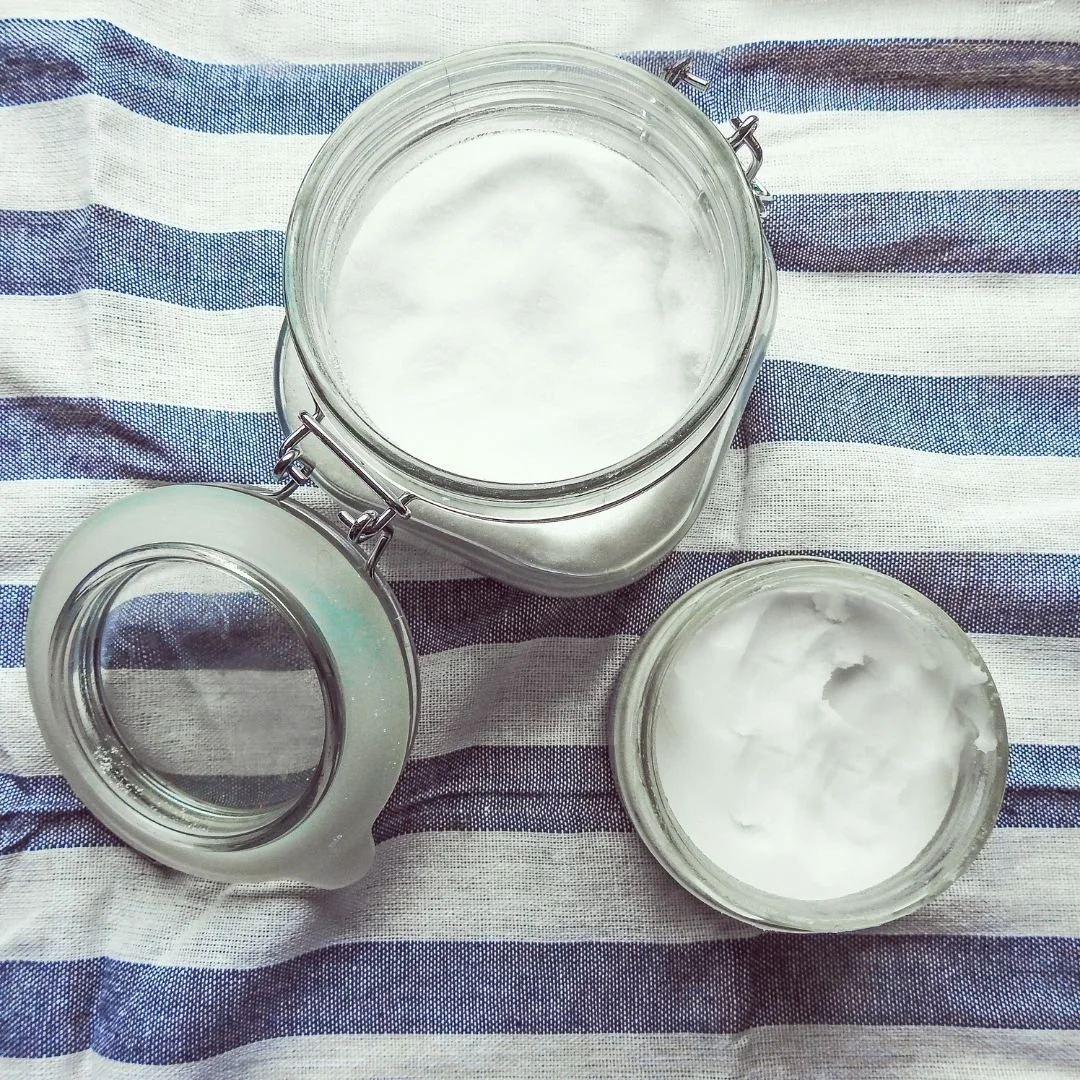
Render your own lard. 4 easy ways, including the instant pot method!
Did you know you can render your own "white gold" lard at home? It’s as easy as melting butter! Learn how to use your Instant Pot to make pure Berkshire lard, plus my favorite "no-fuss" tips for straining and pre-measured storage.